Back in high school (1997-1998), I took a Home Economics class and learned so much from my teacher. Unfortunately, I can’t remember her name but she was a fiery red headed woman with lots of talent and was very helpful in teaching us the certain skills we needed. One of the lessons I learned from her and I still do to this day, is every time you pass through a door, suck in your tummy muscles. Eventually you do it so much that it becomes natural and you look taller, skinnier, and beautiful. Lol, I don’t know if that was true every time, but I could definitely feel the difference when I got pregnant and I had to force myself to push my tummy out. Its a great habit to start!
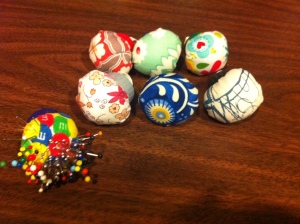
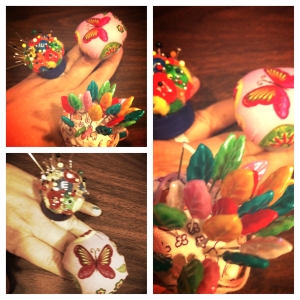
Anyway, she also taught us a lot of sewing and one of the projects was this Ring Pincushion. I still have mine from many years back and I love it! So for Valentines Day, I wanted to make this for all my mommy friends because it was both beautiful and functional.
I searched Pinterest and YouTube for a tutorial to make this and I found some that were a wrist pincushion, some made out of felt, and others. It didn’t suit my need though to make this, so I wanted to share with you this tutorial. It’s probably in a craft book somewhere, but here is how I did it.
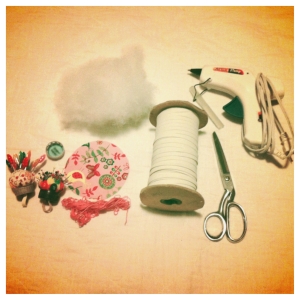
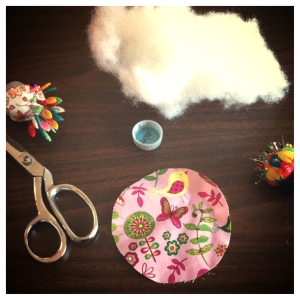
Supplies:
– soda bottle cap
– 4 inch circle of fabric of your choice
– needle and embroidery thread
– thin elastic
– hot glue, drill and drill bit, scissors
– stuffing or cotton balls
1. Cut out your fabric into a 3.5 to 4 inch circle. I started with a 5×5 square and cut from there.
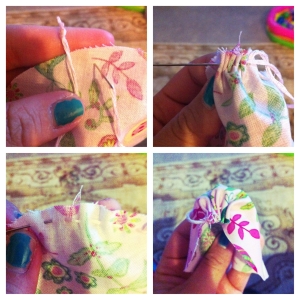
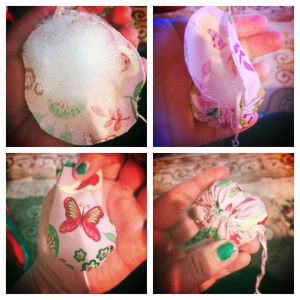
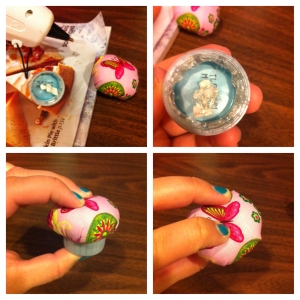
2. Use a gathering stitch on the circle with your needle and thread (make sure the knot is inside). As you start to pull the circle tightly, add a little bit of stuffing at a time until you’ve finished the circle gather and stuffed it full. Make sure to knot well and close off.
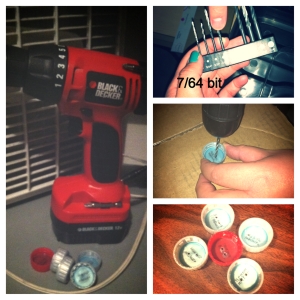
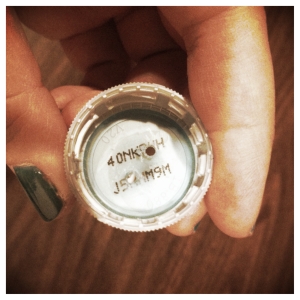
3. Then have your husband or if you are handy, drill two holes into the soda bottle cap.
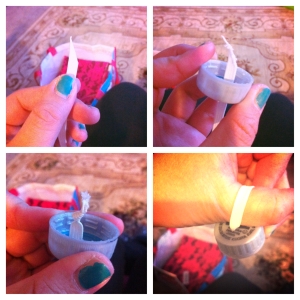
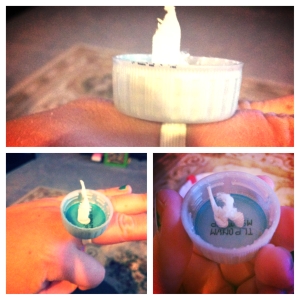
4. Take one end of the elastic, cut it at a sharp angle to create a point. Feed it through one of the holes in the bottle cap. You may have to use your scissors to widen the hole and feed it through. Once you have one side in, make a knot and pull tight. Then test the length to fit your fingers. I start with my thumb and middle finger because those are the ones I like to put them on. Cut the elastic with some extra length. Feed the other end in the hole, make a knot again.
5. Add hot glue to the inside rim of the bottle cap and the bottom as well. Apply the puff you made in step 2, press and hold for 30 seconds or until glue dries.
6. Add pins and start fashioning your Ring Pincushion. Make one or a dozen, they are great gifts too!
Hope you have fun trying this tutorial. Please share the ones you make with us here too!
All my best,

